
Are you an Android application developer? Then Android Studio provides tools and features to build, test, and debug their Android applications. Usually, developers look for IDE, code editor, emulator, debugging, and libraries. Installing Android Studio provides all these.
In this tutorial, we will show you how to install android studio on Ubuntu from the terminal.
Requirements
Android Studio requirements on Linux are:
- 8GB or more RAM
- Minimum of 8GB of free disk space.
- x86_64 CPU architecture
- Any 64-bit Linux Distribution.
- 1280 x 800 minimum screen resolution.
For installation purposes need root user or a normal user with sudo privilege.
Step 1. Install OpenJDK
The current versions of Android Studio come with the latest version on OpenJDK. But in case you don't want to use that version you can install it manually.
To install OpenJDK on Ubuntu / Debian systems, type:
sudo apt install default-jdkThis command would install the latest version of open JDK from the official repository of Ubuntu. Once the installation process is completed, we can check the version by typing javac --version in the terminal.
OpenJDK includes tools for Java programmers to create Java applications - tools such as javac (java compiler.
Step 2. Install Android Studio using Installer
There are a few different ways to install Android Studio - using installer or snap.
Download Android Studio tar.gz file
We must visit the official android developer page to download android studio. Once you are on the page, scroll down to the android studio downloads section.

Click on the Android Studio package for Linux. This should start downloading the android-studio-*.tar.gz zip file to your system.
Extract the file
Once the zip file is downloaded, extract it. By default, the installer will be saved to your Downloads directory. Navigate to this directory using cd command.
cd ~/DownloadsOnce in the directory, extract the downloaded tar.gz file using the tar command.
tar -xzvf android-studio-*.tar.gz
Once the extraction is completed, there will be a new folder in the current directory (Downloads directory), with the name android-studio.
Now you can move the application to an appropriate location such /usr/local/ for your user profile or /opt. In Linux, the /opt directory is typically used to store software packages that are not part of the core operating system. Let's install Android Studio to /opt directory.
sudo mv android-studio /opt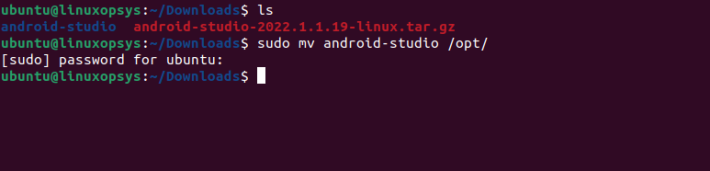
For a 64-bit Ubuntu machine, you need some extra 32-bit libraries to be installed.
sudo apt install libc6 libncurses5 libstdc++6 lib32z1 libbz2-1.0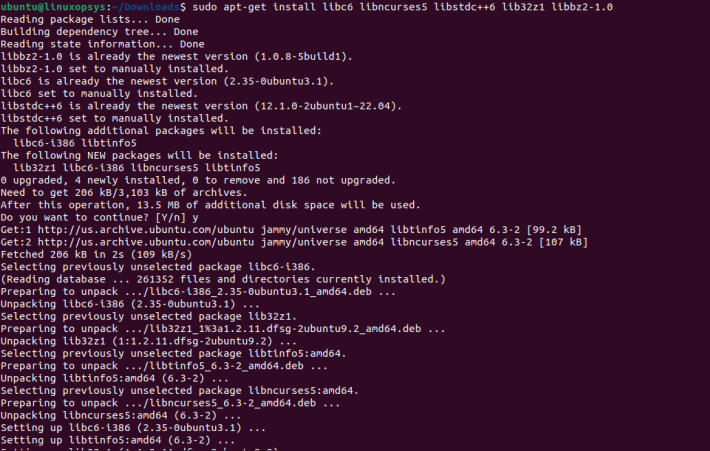
Run the Installer
If we have done everything correctly, we should be able to launch the installer now.
The installation script is available under /opt/android-studio/bin directory. Navigate to the directory.
cd /opt/android-studio/binNow, start the studio.sh script from the terminal:
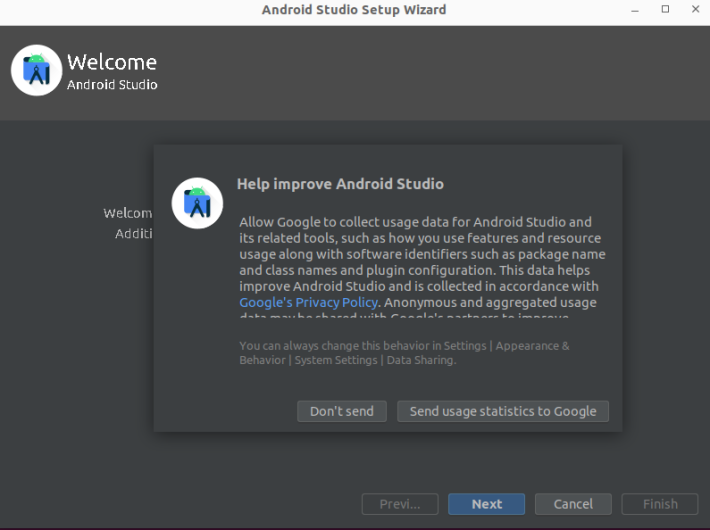
sudo ./studio.shThe system will present us with a setup wizard that will guide us through the installation process.
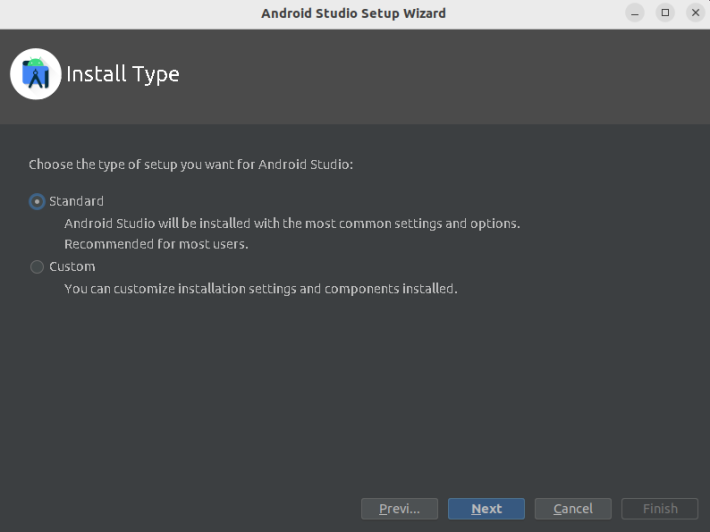
Click on next and select standard installations.
Click on next all through and accept the license agreement.

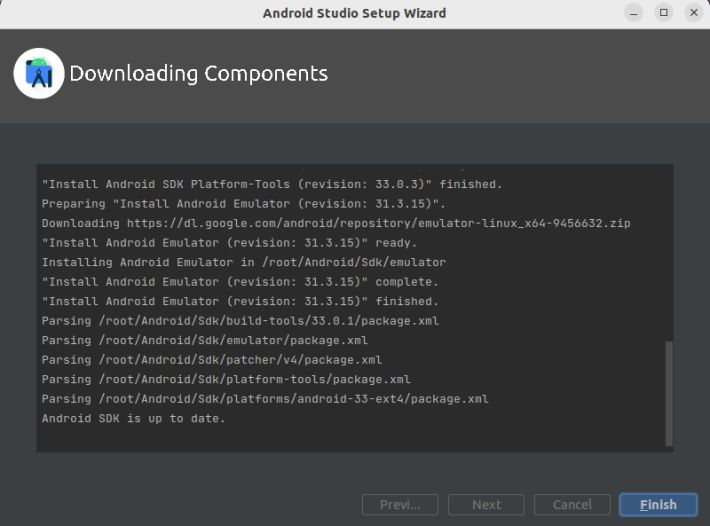
Finally, click next and the installations will begin automatically.
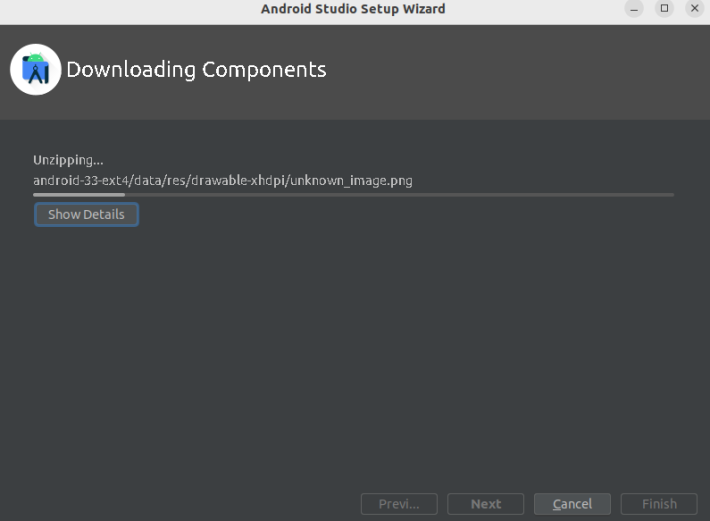
Once all the components have been downloaded, click Finish button.
Step 3. Install Android Studio using Snap
Installing Android Studio using snap would be much easier. Usually, it is bundled with the latest version of Android Studio.
To install android studio using snap, we must first ensure snap is available on our local system. Use the snap --version to check the available version of snap. If you don't have snap installed, use the below command to install it.
apt install snapdOnce snap is installed, update the list of available snap packages.
snap refreshTo install android studio, run the command as stated below. The command will pull all the necessary dependencies required for the android studio to run.
snap install android-studio
It is possible to receive the error displayed above. This is normal with snaps that are not confined to the security sandbox. If you received this error, run the command above with the --classic tag.
snap install android-studio --classicYou should now see a screen where the download begins automatically.
Now that you've installed android studio, you can launch it. Setting it up is similar to the setup using the installer method.
Step 4. Setting Environment variables
The most commonly used environment variable is ANDROID_HOME. It is used to specify the path to the Android SDK on your system. The ANDROID_HOME variable is used by various tools and libraries, including Android Studio, the Android command-line tools.
When you set the ANDROID_HOME environment variable, it makes it easier for these tools and libraries to locate the Android SDK, since they can simply check the value of the ANDROID_HOME variable instead of searching your system for the SDK directory.
To set up the ANDROID_HOME, enter the following commands from the terminal.
export ANDROID_HOME=$HOME/Android/sdk
export PATH=$PATH:$ANDROID_HOME/tools
export PATH=$PATH:$ANDROID_HOME/platform-tools
Step 5. Create your First Android Application
We have installed android studio on our local machine. And it is up and running. It is time to create our first android application.
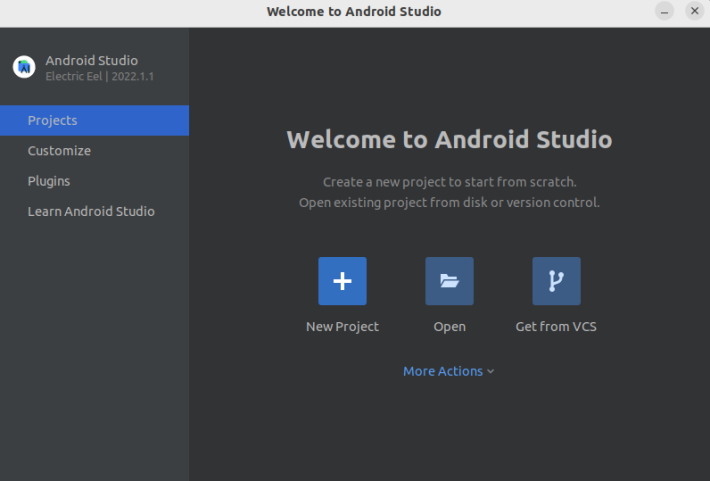
Search and launch the Android Studio. On the welcome screen, click on a new project.
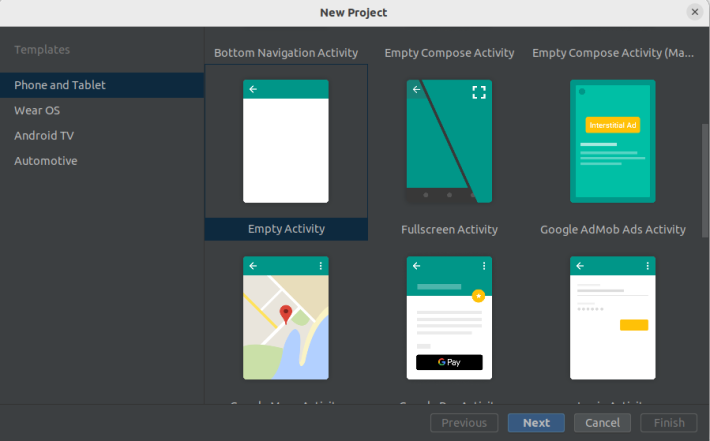
You will be taken to a new screen, which is the template screen. This is where we will select the template that is best suitable for our project. In our case, we will scroll down the page and click on the Empty Activity template under the phone and tablet tab. Then press next.
On the next screen, we would be prompted to configure our project template with the following.
Name: This is a short descriptive name for our project, and we can name it anything. In our own case, we will name it first android app.
Save location: This is the folder where the project will be saved. We can either use the default location or select another folder. We will be going with the default location in this tutorial.
Language: This is the language that will be used for the project. We are going with java.
Minimum SDK: This allows us to select the minimum API level our application will support. Since the minimum the API, the more devices our app can run on. Hence, we will choose 16, which is the minimum and it covers almost 100% of all android devices.
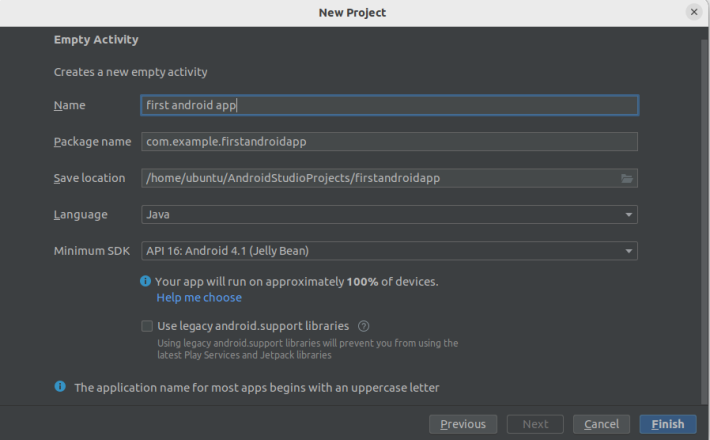
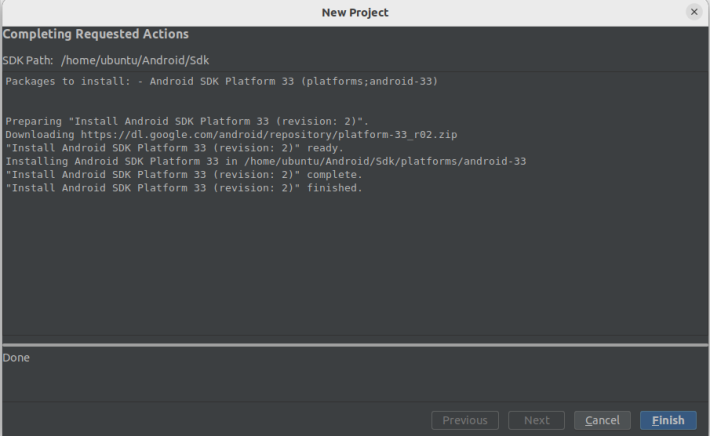
Now, click finish to create the project.
Once the project is created, Android studio will then synchronize the project sources. Then click finish.
On the next screen, many files will be generated on the left side.
The app -> src -> main -> AndroidManifest.xml contains information about our app, such as metadata, app name, version, and many more.

The app -> src -> main -> java -> com -> example - firstandroidapp - MainActivity.java file we will add our first app code.

Now, on your Android device, find developer options and click on it. In the debugging tab, turn on USB debugging and install via USB. Connect your phone to your local computer. And select file transfer on your android device.
Select the run tab and click on run "app". If the run is successful, a Launch succeeded message will be displayed at the bottom-left. The application automatically gets installed on your phone. Once the installation is completed on our phone, look for it and launch it.
Now, your first android application is running on your phone. Congratulations!
Conclusion
In this tutorial, we learned how to install Android Studio on Ubuntu from the terminal. You can start developing Android apps.
Related Read: How to Install Android SDK without Android Studio on Ubuntu


Comments