
ImageMagick is a free and cross-platform application for creating, converting, and modifying raster images. It reads and writes images in a wide range of formats including JPEG, PNG, SVG, WebP, PDF, TIFF, EXR, and GIF to mention just a few.
With ImageMagick, you can flip, resize, rotate, mirror, distort, and transform images as well as apply effects such as adjusting image colors and drawing lines, text, and shapes on images.
ImageMagick is absolutely open source meaning that you can use, modify and redistribute it under the Apache 2.0 license.
In this guide, we learn how to install the latest ImageMagick on Ubuntu 22.04. There are two ways of installing ImageMagick. You can install it from the default Ubuntu repositories or install it from the source.
Method 1: Install ImageMagick using APT
The easiest way to install ImageMagick is using the Apt command from the Ubuntu default repository.
Step 1: Update Ubuntu
First, refresh the local package index as follows
sudo apt updateStep 2: Install ImageMagick using Apt
Next, install ImageMagick using the APT package manager.
sudo apt install imagemagick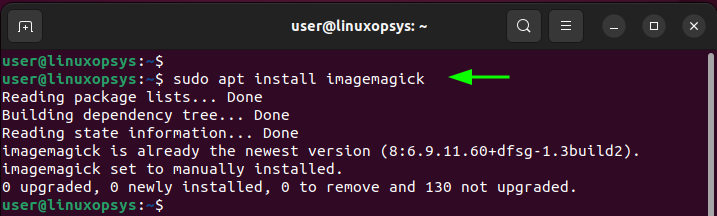
Step 3: Verify ImageMagic Installation
By checking the ImageMagick version we can confirm that it is installed.
identify -versionOutput
Version: ImageMagick 6.9.11-60 Q16 x86_64 2021-01-25 https://imagemagick.org
Copyright: (C) 1999-2021 ImageMagick Studio LLC
License: https://imagemagick.org/script/license.php
Features: Cipher DPC Modules OpenMP(4.5)
Delegates (built-in): bzlib djvu fftw fontconfig freetype heic jbig jng jp2 jpeg lcms lqr ltdl lzma openexr pangocairo png tiff webp wmf x xml zlib
ImageMagick version 6.9.11 is installed from the Apt repository.
Method 2: Install ImageMagick from source
Installing ImageMagick from the official Ubuntu repositories usually does not provide with the latest version of ImageMagick. To install the latest version of ImageMagick download the source file and compile it.
Follow the steps to install ImageMagick from the source.
1. Install prerequisite packages
To compile from the source, first, install the build tools as follows.
sudo apt install build-essential make gccInstall your required development delegate libraries:
apt install libx11-dev libxext-dev zlib1g-dev libpng-dev libjpeg-dev libfreetype6-dev libxml2-devNote: Recommend checking the required list of all development libraries by a dry run apt -s build-dep imagemagick. Make sure to add 'deb-src' URIs in your sources.list file.
2. Download ImageMagick
Download the latest tarball file from the ImageMagick Download page using the following command:
wget https://download.imagemagick.org/ImageMagick/download/ImageMagick-7.1.0-54.tar.gzAlternatively, you may use git clone:
git clone [email protected]:ImageMagick/ImageMagick.git3. Extract ImageMagick tar.gz file
Once the tarball is downloaded on your current directory, extract the tar.gz file:
tar -xvf ImageMagick-7.1.0-54.tar.gzThis creates an ImageMagick-7.1.0-36/ directory in your current directory. Next, navigate into this directory.
cd ImageMagick-7.1.0-54/4. Install ImageMagick from the source
First, configure the build environment. This will create a makefile for compilation.
./configureOnce the build is completed, start the compilation:
make -j4On successful compilation, you have all the required binaries created. To install those binaries, type:
sudo make installNext, create a link to the shared libraries located in the /usr/local/lib path.
sudo ldconfig /usr/local/lib5. Verify ImageMagick Installation
The installation of ImageMagick is now complete. You can verify this by checking the version installed using the following command.
magick -versionOutput
Version: ImageMagick 7.1.0-54 Q16-HDRI x86_64 20660 https://imagemagick.org
Copyright: (C) 1999 ImageMagick Studio LLC
License: https://imagemagick.org/script/license.php
Features: Cipher DPC HDRI OpenMP(4.5)
Delegates (built-in): fontconfig freetype heic jbig jng jp2 jpeg lzma png tiff webp x xml zlib
Compiler: gcc (11.3)
Alternatively, check the version of ImageMagick using the convert command:
convert -versionFrom the output, you can see that we are running ImageMagick 7.1.0-36 which is the latest version at the time of publishing this guide.
By default, ImageMagick installs binaries in the /usr/local/bin directory. Library files are stored in /usr/local/lib and header files in the /usr/local/include path.
You can also check out the documentation in the /usr/local/share directory.
You can also test ImageMagick, run the following command
convert logo: logo.gifThe command converts the ImageMagick logo into a GIF and places it on your Desktop directory.
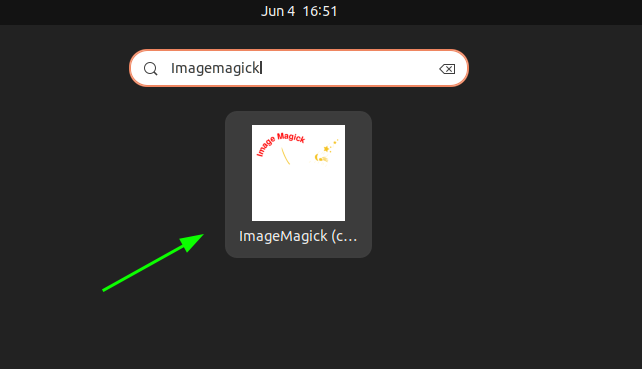
You can use the GNOME search functionality to open the ImageMagick application.
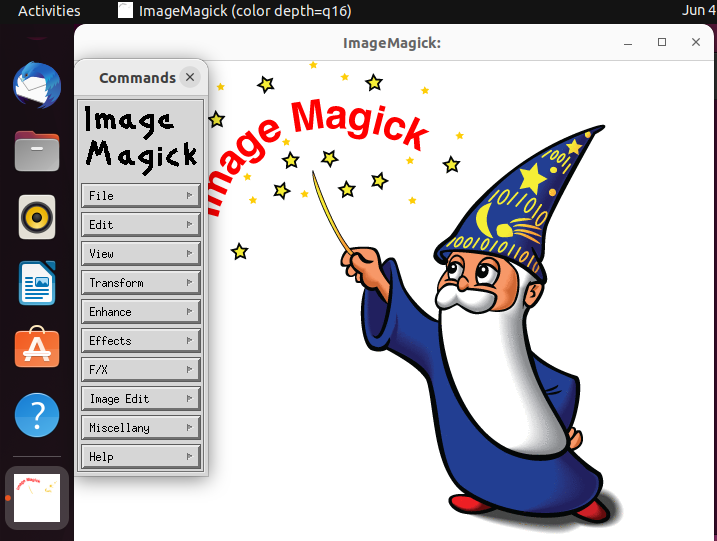
This launches ImageMagick, this time with an additional tray of command options for achieving various tasks.
Conclusion
In this guide, we learned how to install ImageMagick on Ubuntu 22.04. We used two approaches - installing from the official Ubuntu repositories and installing from the source.
Thanks for reading, feel free to provide your feedback and suggestions.


Comments