
ImageMagick is a free and open-source image manipulation tool. It is mainly used to create, edit, compose or convert bitmap images. Its uses include resizing, rotating, shearing images, applying various special effects, or drawing text, lines, and curves. Most of its functionalities are performed from the command line.
ImageMagick supports a variety of image formats such as PNG, JPEG, GIF, HEIC, TIFF, DPX, EXR, WebP, Postscript, PDF, and SVG. ImageMagick is compatible with Linux, Windows, Mac Os X, iOS, Android OS, and others.
In this tutorial, we learn how to install ImageMagick 7 on Ubuntu 20.04. There are two methods to install ImageMagic on Ubuntu - using apt or from the source file.
Install ImageMagick using APT
The Ubuntu Apt repository has the stable version of ImageMagick. Sometimes Apt repository takes much time to get the latest version. Let's first check how to install ImageMagick using the apt method.
Step 1. Update Ubuntu system
Before installing ImageMagick, update the apt index.
$ sudo apt updateStep 2. Install ImageMagick on Ubuntu
Now, to Install ImageMagick, type:
$ sudo apt install imagemagickStep 3: Verify ImageMagick installation
To verify ImageMagick installation run the following command.
$ sudo convert logo: logo.gif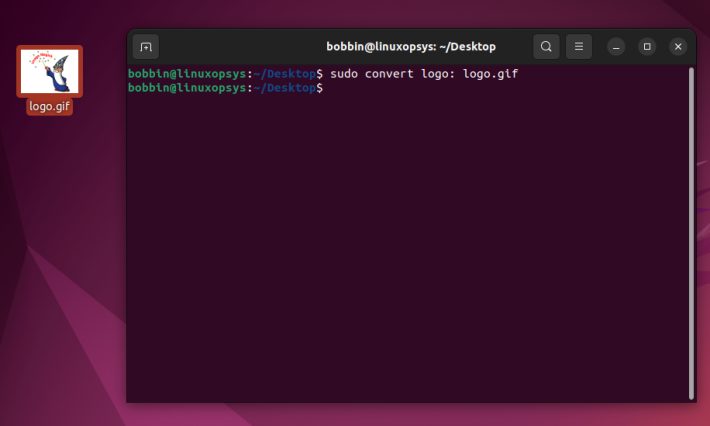
This will create a file named logo.gif on your Desktop (as I run the command from the Desktop directory) this confirms that your ImageMagick installation is successful. You can also run the two additional commands to verify.
$ sudo identify logo.gif
$ sudo display logo.gif
To check the ImageMagick version, type:
$ identify -version Version: ImageMagick 6.9.10-23 Q16 x86_64 20190101 https://imagemagick.org
Copyright: © 1999-2019 ImageMagick Studio LLC
License: https://imagemagick.org/script/license.php
Features: Cipher DPC Modules OpenMP
Delegates (built-in): bzlib djvu fftw fontconfig freetype jbig jng jpeg lcms lqr ltdl lzma openexr pangocairo png tiff webp wmf x xml zlibThe output shows that ImageMagick 6.9.10 version is installed.
If you don't want to go through the installation, ImageMagick also provides the AppImage version which is completely portable.
Install the latest ImageMagick from the source file
Although installing Ubuntu-packaged ImageMagick will do for most use cases, you can get the edgiest features of the tool by compiling the latest source code.
1. Install the Prerequisite package
To compile from the source file first install all the build tools, type
$ sudo apt install build-essential makeAlso, make sure to install all your required delegates libraries.
2. Download ImageMagick source file
Next Download the latest source from ImageMagick's official website.
$ wget https://imagemagick.org/archive/ImageMagick.tar.gz3. Extract the tar.gz file
Extract the compressed archive file:
$ tar -axvf ImageMagick.tar.gz4. Install from ImagicMagic source file
Goto top-level directory of source:
$ cd ImageMagick-7.1.0-4/Configure the build:
$ ./configureBuild and install source:
$ sudo make installConfigure dynamic linker runtime directory:
$ sudo ldconfig /usr/local/libVerify installation by generating the ImageMagick logo:
$ magick logo: mylogo.gifThis creates the file named mylogo.gif in the current directory.
In Ubuntu 20.04 the magick command is not found when installed using the apt method, magick command is available when you install from the source file.
Display the just generated logo file:
$ eog mylogo.gifLet's check the version installed from the source file.
$ magick -version Version: ImageMagick 7.1.0-4 Q16 x86_64 2021-07-18 https://imagemagick.org
Copyright: (C) 1999-2021 ImageMagick Studio LLC
License: https://imagemagick.org/script/license.php
Features: Cipher DPC HDRI OpenMP(4.5)
Delegates (built-in)
The output shows that ImageMagick 7.1.0 version is installed which is the latest version as of writing this tutorial.
You can keep the source directory in case you want to remove ImageMagick later using the make uninstall command.
Conclusion
In this tutorial, we learned how to install ImageMagick on Ubuntu 20.04. We also installed the latest version on ImageMagick by compiling the source file.


About The Author
Bobbin Zachariah

Bobbin Zachariah is an experienced Linux engineer who has been supporting infrastructure for many companies. He specializes in Shell scripting, AWS Cloud, JavaScript, and Nodejs. He has qualified Master’s degree in computer science. He holds Red Hat Certified Engineer (RHCE) certification and RedHat Enable Sysadmin.
Comments