
Ruby and Rails commonly known as "Rails" is an open-source web application framework. This framework is written in Ruby programming language which helps you to create highly powerful websites and applications. Rails is a server-side web application framework that follows the MVC concept.
In this guide, we learn how to install the Ruby and Rails framework on Ubuntu 22.04.
Prerequisites
- Ubuntu server 22.04
- A non-root user with Sudo privileges
- Internet connection to download packages
Install Ruby on Ubuntu
There are many ways to install Ruby on Ubuntu 20.04. In this article, we are going to use Rbenv. You will need another tool ruby-build to install Ruby.
Use the following command to update your Ubuntu 20.04.
sudo apt updateUse the following command to install Ruby dependency packages.
sudo apt install git curl libssl-dev libreadline-dev zlib1g-dev autoconf bison build-essential libyaml-dev libreadline-dev libncurses5-dev libffi-dev libgdbm-devAfter the complete installation of dependency packages, run the following command to clone both Rbenv and Ruby-build repositories at GitHub.
curl -sL curl -fsSL https://github.com/rbenv/rbenv-installer/raw/HEAD/bin/rbenv-installer | bashTo set path in .bashrc, run the following command:
echo 'export PATH="$HOME/.rbenv/bin:$PATH"' >> ~/.bashrcecho 'eval "$(rbenv init -)"' >> ~/.bashrcexec $SHELL
Now you can install any available version of Ruby using Rbenv. To list available Ruby version, run the following command:
rbenv install -lYou will get the output as:
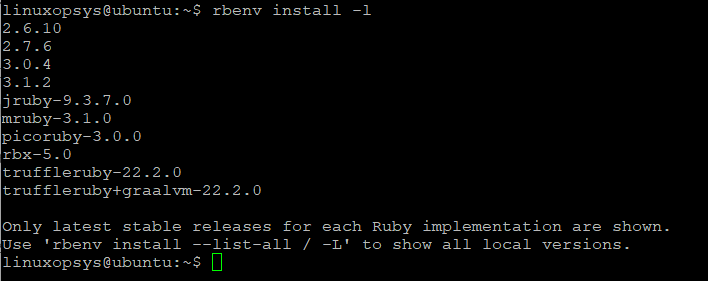
You can install any version of Ruby using Rbenv. In this example, I am going to install Ruby 3.1.2. To choose any version compatible with your system, replace version number.
rbenv install 3.1.2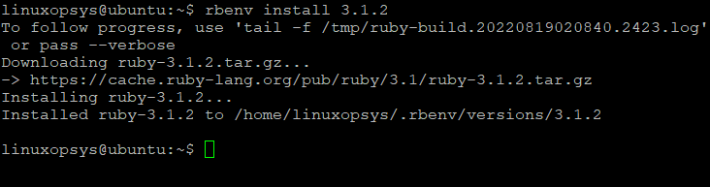
After completing the installation, run the following command to set global variable:
rbenv global 3.1.2To verify installation, run the following command:
ruby -vYou will get output similar as:
Output
ruby 3.1.2p20 (2022-04-12 revision 4491bb740a) [x86_64-linux]
Run the following command to install bundler.
gem install bundler
Install Node.js on Ubuntu
Rails require Javascript runtime to build applications so you need to install the latest version of Node.js.
You can install Node.js from NodeSource or Ubuntu's official repository.
Run the following command to install NodeJS from NodeSource. At the time of writing, NodeSource repository provide v18.x with the latest stable version.
curl -sL https://deb.nodesource.com/setup_18.x | sudo -E bash -Execute the following command to install Nodejs.
sudo apt install nodejsTo check Node.js version, run the following command:
node -vYou will get the output as:
Output
v18.7.0
After installing Node.js, you need to install yarn package manager. Run the following command to add gpg key for yarn package manager.
curl -sL https://dl.yarnpkg.com/debian/pubkey.gpg | sudo apt-key add -Add repository for yarn package using the following command:
echo "deb https://dl.yarnpkg.com/debian/ stable main" | sudo tee /etc/apt/sources.list.d/yarn.listFinally, run the following command to install yarn package manager.
sudo apt update && sudo apt install yarnInstall Rails on Ubuntu
Rails can be installed using the gem install command. Execute the following command to install Rails on ubuntu 20.04.
gem install railsYou can use gem install rails –version=<version> command to install specific version of Rails. Use the following command to verify Rails installation on your system.
rails -vAs of writing this article the latest version of rails is 6.1.3.
Output:
Rails 7.0.3.1
Install PostgreSQL
In this article, we are going to use PostgreSQL to run the Rails application. In Ubuntu, PostgreSQL is available in the default repository.
Run the following command to install Postgres and dependencies:
sudo apt install postgresql postgresql-contrib libpq-dev -yOnce the installation is completed, start and enable postgres service to start automatically after reboot.
sudo systemctl start postgresql
sudo systemctl enable postgresql
Postgres service has been started and enabled. Now login to the PostgreSQL shell and create a new role with a password and the privileges createdb and login. In this example, I am going to use 'linuxopsys_dev' as a role.
sudo -i -u postgres psqlTo create role and grant permission run the following command:
# create role linuxopsys_dev with createdb login password 'mystrongpassword';
To list all available users on PostgreSQL, run the following command:
# \duYou will get the role named 'linuxopsys-dev' on the PostgreSQL list users.
Start New Ruby on Rails Project with PostgreSQL
Ruby on Rails uses SQLite as the default database. In this article, we are going to start new Rails project using PostgreSQL database.
In this guide, I am going to create a new application 'linuxopsysapp' with the default database PostgreSQL using the following 'rails' command.
rails new linuxopsysapp -d postgresqlYou will get output similar as:
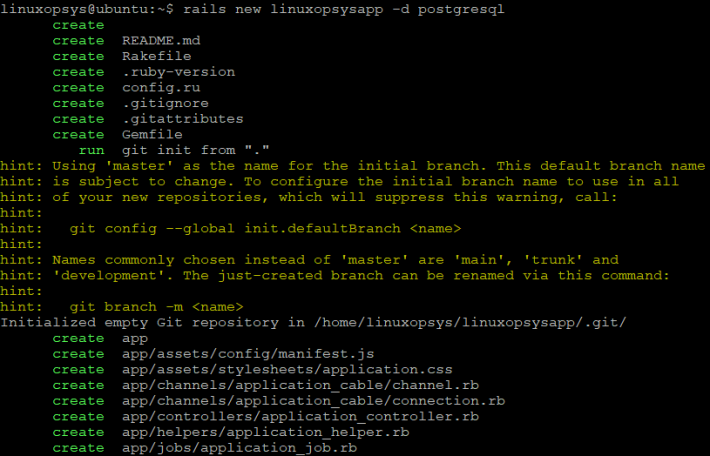
Now you will get the project directory 'linuxopsysapp', go to the project directory, and modify the database configuration file 'config/database.yml' using any text editor.
cd linuxopsysapp/
vi config/database.yml
In the development section and use your database details. In this example, I have used default credentials created in above steps. You can have your own assumption.
 host: localhost
 port: 5432
 username: linuxopsys_dev
 password: mystrongpassword
Now go to the testing section and modify PostgreSQL database configuration as below:
host: localhost
port: 5432
username: linuxopsys_dev
password: mystrongpassword
Save the file and exit.
Now, run the rails command to generate and migrate database for our new Rails project.
rails db:setup
rails db: migrate
Now it's time to host the application. Start the default rails web server using the following command:
rails s -b 0.0.0.0 -p 8080Your rails application will listen to the port '8080' for an incoming connection. The linuxopsyseapp project will run with the port '8080'.
Now open your browser and type your server IP address with port '8080' on the address bar.
http://your-server-ip:8080You will get the default web page of Ruby on Rails as:
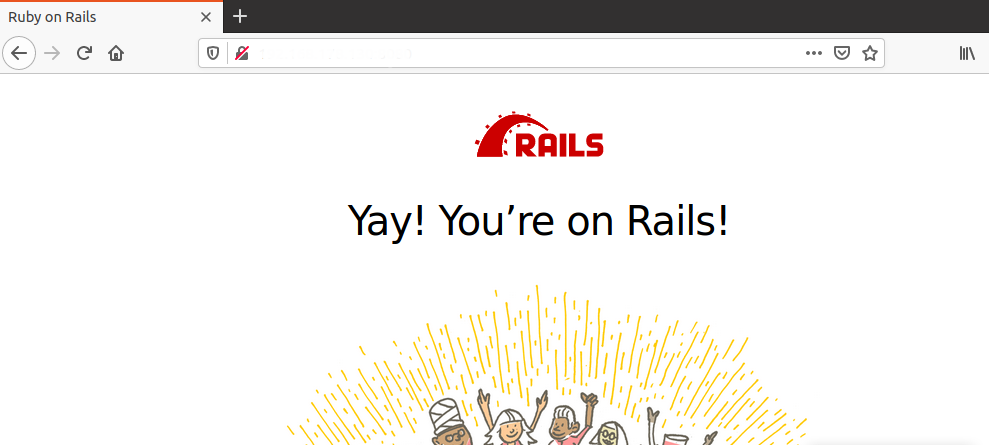
The output shows the first project is running successfully.
Conclusion
In this guide, you have learned how to install Ruby using Rbenv with an application compatible version on Ubuntu 22.04. You got knowledge about PostgreSQL database installation and configuration. Finally, you got an idea on creating Rails project and hosting an application using PostgreSQL.
Thank you for reading and please leave your feedback and suggestions in the below comment section.


About The Author
Bobbin Zachariah

Bobbin Zachariah is an experienced Linux engineer who has been supporting infrastructure for many companies. He specializes in Shell scripting, AWS Cloud, JavaScript, and Nodejs. He has qualified Master’s degree in computer science. He holds Red Hat Certified Engineer (RHCE) certification and RedHat Enable Sysadmin.
Comments