
Neofetch is a very useful system information command-line tool that displays information about your computer hardware and operating system. You can display system information along with an ASCII logo using Neofetch. You can modify the information based on your requirements using the configuration functions. The customizations are supported for the logo, adding custom information to the output, and replacing the logo with a different Neofetch custom image.
In this tutorial, we will learn how to customize Neofetch output using different functions.
The Default Output
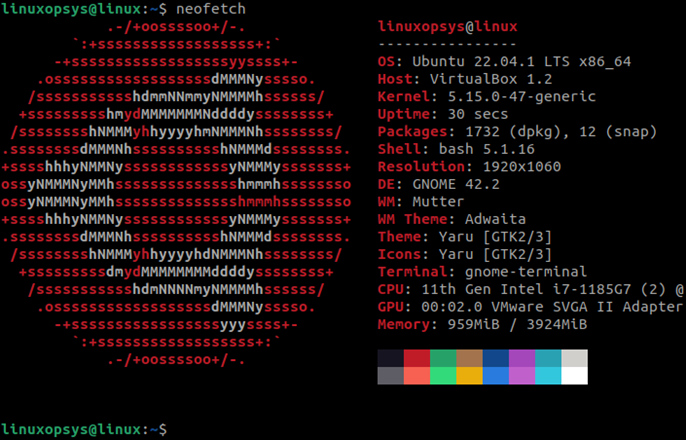
Let’s see the default Neofetch information before we start customizing it. This information is shown on an Ubuntu machine and it displays the logo along with the distro info, OS architecture and version, hostname, resolution info, CPU info, kernel info, memory, and other information.
The Configuration File
The Neofetch command-line utility has two configuration files:
- User-specific Neofetch config stored at ${HOME}/.config/neofetch/config.conf. The default configuration is copied to this file when you run Neofetch for the first time.
- System-wide configuration stored at /etc/neofetch/config.conf. User configuration is copied from a user-specific file to a system-wide configuration file.
Adding Custom Information
The default output of Neofetch provides useful hardware and software information about your Linux distribution. However, you may not want to see all the information and shows and thus can customize the information by editing the Neofetch config file.
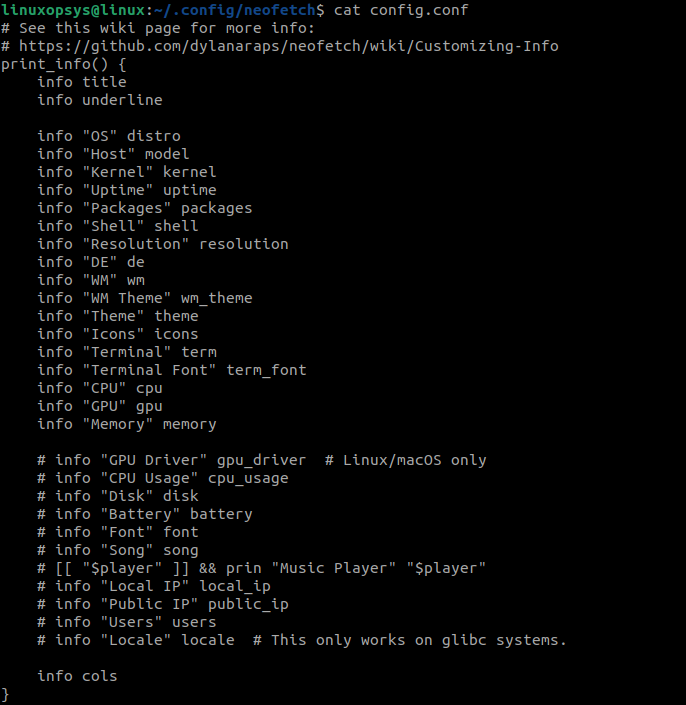
Neofetch uses the print_info () bash function to show information on the terminal. Inside this bash function, it contains a list of items that Neofetch can print. When you run the command, it displays all the items that are not commented on in the function.
By default, this is how the configuration file looks like:
info
The info helper function can be used to display or hide information from the Neofetch. By default, certain functions are commented on, which are not displayed in the output. You can uncomment or comment on an info function entry to display or hide information.
For example, to hide OS architecture information from the output, comment on the following line:
# info "OS" distro
Similarly, to display GPU driver information, which is not part of the default information, uncomment the following line:
# info "GPU Driver" gpu_driver # Linux/macOS only
prin
You can use the prin function that enables you to directly display information from Neofetch by using the echo function. The prin function works the same as echo.
You can use prin to display custom messages on your terminal window. Some of the examples are given below:
# Custom message printing
prin "This is my work Ubuntu system"
# Info line printing
prin "Date" "$(date)"
color
You can change the colour of strings using the color function using one of the pre-programmed colour values. To use this function with prin, use the colour numbers with the color function. The following example shows how to use blue colour to display a custom message with the prin function.
# Blue colour custom message printing
prin "$(color 4)I am a system administrator."
Display Image Backend Instead of ASCII Logo
By default, the Neofetch displays an ASCII logo of the Linux distribution. If you do not like the logo and you want to replace it with a Neofetch image, you can do so by using the --source option and specifying the image location.
neofetch --backend flag_name --source /path/to/imageFor example, to use an image from your local disk, use the following command:
neofetch –backend jp2a –source /home/images/logo.pngASCII Art
If you want to use your own ASCII art, instead of the default distribution logo or the pre-defined ASCII arts stored on your Linux distribution, then you can use the --source option to specify a local file. You must first save the ASCII art to a text file.
neofetch --source /ascii_artPrint Only the ASCII Logo
Use the -L option to hide the hardware and software information from the output and display only the logo of your distribution:
neofetch -LThis information is not much useful in identifying the system resources, but you can identify the distribution name with this.
Hide ASCII Logo
Use the --off option to display only the hardware and software information, such as hostname, OS, CPU info, packages info, GPU info, CPU speed, and memory. This option hides the ASCII logo of the distribution:
neofetch --offShow a Smaller Logo
The default logo in the Neofetch output is quite big and it takes up lots of space on the screen. You can use the following command to display a smaller logo with the Neofetch:
neofetch --ascii_distro Ubuntu_smallProvide the distribution name with the distroname_small option. In this example, the distribution name is Ubuntu. You can change this to your distribution name.
Print Specific Distro Logo in ASCII Art
The default Neofetch information displays the logo of the current Linux distribution. However, you can change the ASCII art logo by specifying the distribution name to print the logo of a different distribution.
Use the following command to display distribution names for which the ASCII art logos are available:
neofetch --help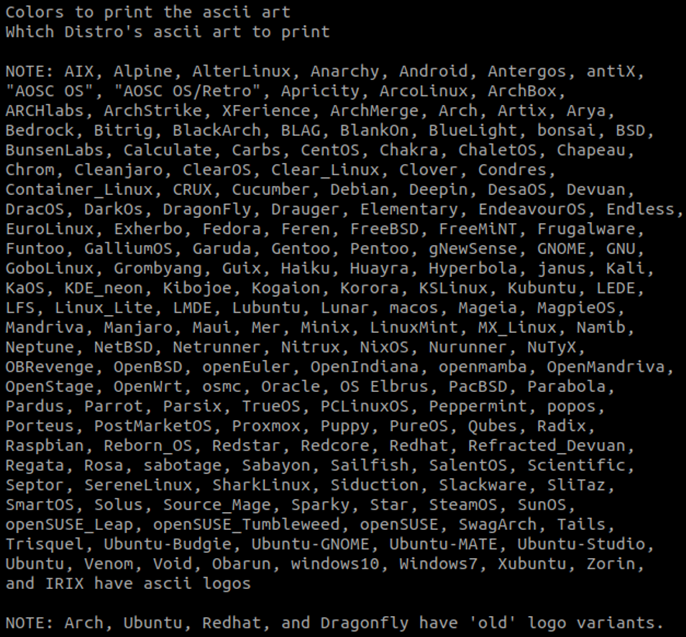
Use the following command to replace the Ubuntu logo on the current machine with the BSD logo:
neofetch --ascii_distro BSDConclusion
Neofetch is not preinstalled on any of the Linux distributions and thus you must first install it on your specific distribution to use it. If you are not satisfied with Neofetch information and customizations, then you can use screenFetch to display system hardware and software information, such as Linux distro info, kernel info, CPU, packages info, GPU, and memory.
On my Ubuntu system, I can successfully run both Neofetch and screenFetch to display system information. Both these bash information scripts can be used to generate useful terminal information with the ASCII logo.
We hope you enjoyed reading this article and this information was useful to you. Provide your feedback in the comments section below to help us improve the content on our website.


About The Author
Subhash Chandra

Subhash Chandra, an Oracle Certified Database Administrator and professional writer, works as a Consulting User Assistance Developer at Oracle, bringing over 15 years of experience to the role. He enjoys sharing his technological passion through how-to articles, simplifying complex concepts in Linux, Windows, Mac OS, and various other platforms and technologies for a wide audience.
Comments