
Auto-cpufreq is an open-source command-line utility based on Python under the GPL 3.0 license. The tool monitors your CPU and prints metrics on the terminal such as the CPU usage, and frequency & temperature of each CPU core. Additionally, it monitors the state of your battery, system load, and turbo boost management.
In this guide, we explore the monitoring tool - auto-cpufreq - a CPU speed and power optimizer.
Why do you need auto-cpufreq?
The auto-cpufreq tool automatically optimizes your CPU and battery power in both persistent and temporary state. In so doing, it keeps your Linux system in a perfectly functioning state and prolongs your battery life without compromising on anything.
Let's now shift gears and see how you can install this useful tool across various Linux distributions.
Installing auto-cpufreq
There are two ways that you can go about installing auto-cpufreq: Installing from source and installing using snaps. Let's take a look at each of these two.
Installing auto-cpufreq from source
To install from source, first, clone the git repository as shown
git clone https://github.com/AdnanHodzic/auto-cpufreq.gitNext, navigate into the cloned directory and build from source as shown:
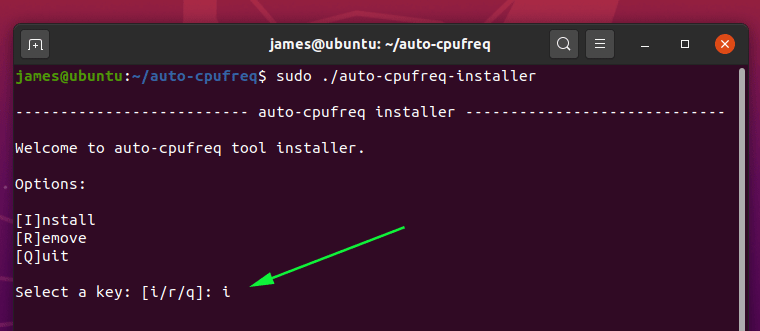
cd auto-cpufreq && sudo ./auto-cpufreq-installerThis command will install all the necessary Python packages. Also in the course of the installation, the installer will require you to confirm the installation by pressing 'I' on the keyboard as shown:
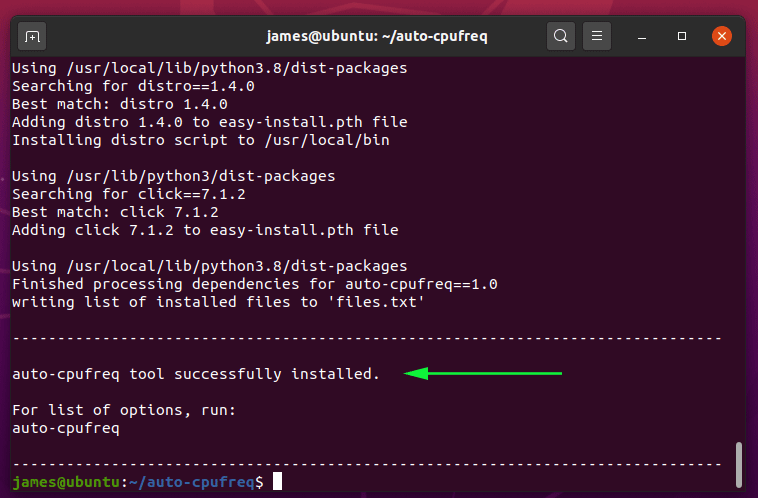
Thereafter, additional packages such as lm_sensors for monitoring the temperature of CPU cores and hddtemp for smart monitoring of the hard drive temperature will be installed. The output below confirms that the installation is successful.
Installing auto-cpufreq using snaps
The other way of installing the auto-cpufreq tool is installing from snaps. A snap is a compressed file that contains a software package alongside all its libraries and dependencies. Snaps are nowadays preferred to the traditional package managers due to seamless installation of packages since dependency issues have been taken care of.
Ubuntu / Mint / Debian
For Ubuntu flavors from Ubuntu 16.04 (Xenial Xerus) and later releases such as Ubuntu 18.04 (Bionic Beaver) & Ubuntu 20.04 (Focal Fossa), Snap comes already installed. To install auto-cpufreq, run the command:
sudo snap install auto-cpufreqFor Linux Mint, Debian and older versions of Ubuntu, first install the snapd package as shown:
sudo apt update

sudo apt install snapd
Then finally install auto-cpufreq by running:
sudo snap install auto-cpufreqCentOS Stream / RHEL
Snap is available for both CentOS Stream + and RHEL 7.6+ from EPEL repository. Therefore, first add the EPEL repository on your system.
sudo yum install epel-releaseNext, install snap as shown in the following command:
sudo yum install snapdNext, enable the snapd daemon
sudo systemctl enable --now snapd.socketThereafter, create a symbolic link between /var/lib/snapd/snap and /snap:
sudo ln -s /var/lib/snapd/snap /snapFinally, to install auto-cpufreq, invoke the command:
sudo snap install auto-cpufreqFedora
For Fedora, install snapd as shown and restart your system
sudo dnf install snapdNext, create a symbolic link between /var/lib/snapd/snap and /snap:
sudo ln -s /var/lib/snapd/snap /snapAnd once again, to install auto-cpufreq, run:
sudo snap install auto-cpufreqYou can check the installation steps for other distributions from the Snapcraft store.
How to run auto-cpufreq
To start using the auto-cpufreq tool, open your terminal and execute:
sudo auto-cpufreqYou will be presented with 3 modes that you can use to run the tool with:
Monitor mode:
In this mode, no changes are made to the system. The user only gets a sneak preview of what the tool can do on your system.
sudo auto-cpufreq --monitor
Live mode:
In Live mode, the required tweaks are made to your system temporarily and are lost upon a reboot. This simulates how a system would run if the changes were to be permanently implemented.
sudo auto-cpufreq --monitorInstall - auto-cpufreq daemon
In this mode, the auto-cpufreq is deployed as a daemon using the following command:
sudo auto-cpufreq --install
You can verify the status of the daemon by running:
sudo systemctl status auto-cpufreqThereafter, necessary modifications are made which eventually persist across reboots. To have a look at the logs, run the command:
sudo auto-cpufreq --logConclusion
In this guide, we have examined auto-cpufreq - a CPU speed and power optimizer for Linux systems.
Let us know how your experience using the tool in the comment section. Thanks.


About The Author
James Kiarie

James Kiarie is a skilled and certified LPIC Linux administrator with a strong passion for technical writing, specializing in the Linux domain. With over four years of experience, he has crafted numerous technical guides, helping a wide audience navigate through various Linux distributions.
Comments