
It is always recommended to regularly update your Ubuntu system. And not just Ubuntu but even other operating systems as well. This is because updates provide security fixes that address underlying vulnerabilities or loopholes which can be leveraged by hackers to breach your system. In addition, some updates are feature updates that improve the functionality and appeal of some applications.
In this guide, we learn how to update a Ubuntu system. There are two ways to install updates on Ubuntu Linux: using the graphical user interface (GUI) or from the terminal.
Update Ubuntu from GUI
If you are running an Ubuntu desktop, you can easily install updates using the Software Updater. This GUI interface is a handy and intuitive tool that easily allows you to apply all the required updates with only a few clicks.
To begin, click on 'Activities' at the top left corner of your screen. Then search for 'Software updater'.
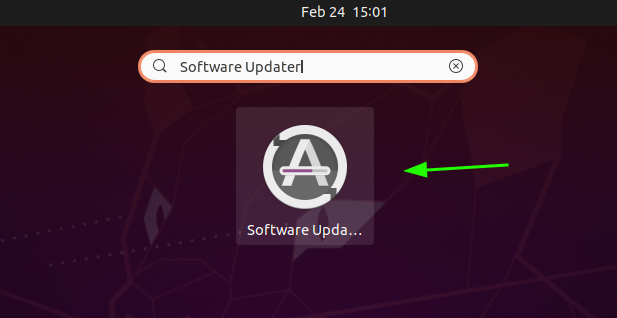
Next, click on the 'Software updater' icon to launch it. This will cause the software updater to start probing for available software updates for your Ubuntu system.
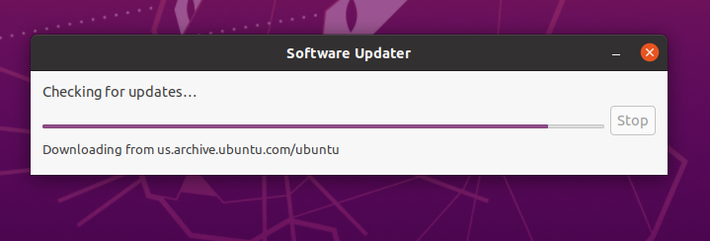
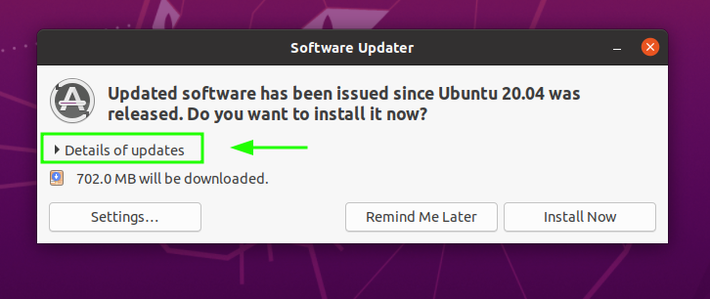
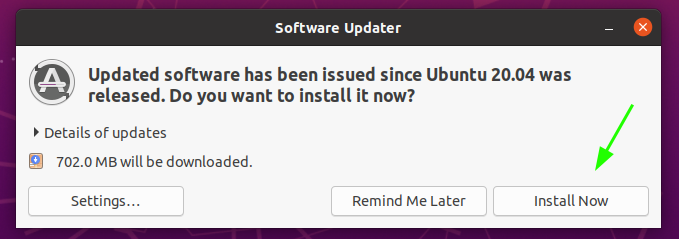
The updater will take a few minutes to check for updates from official Ubuntu repositories and provide a summary of the size of package upgrades as shown. To have a comprehensive list of all the updates, click on 'Details of updates'.
Displays a list of software package upgrades that will be installed.
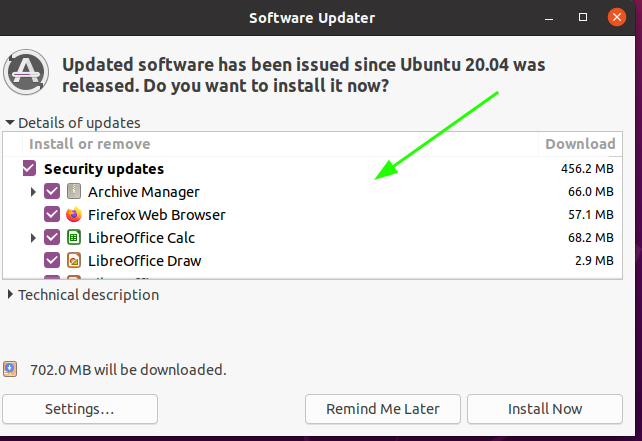
To start installing updates, click on the 'Install Now' button.
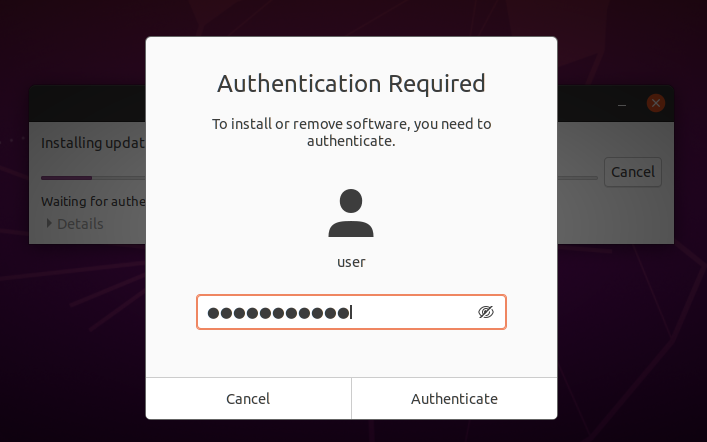
You will be required to authenticate, so do so by providing your admin password and then press 'Authenticate'.
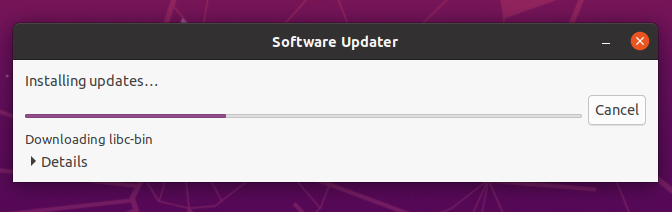
Once authenticated, the software updater will proceed to install all the updates including security updates for all the packages and kernel updates. This might take a while depending on the size of the updates.
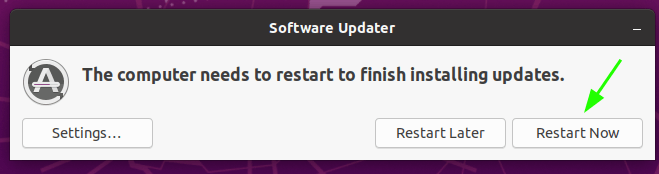
Once completed, you will be required to restart your system to finish installing updates on Ubuntu desktop.
Update Ubuntu from the Terminal
If you are running a headless system, that is, Ubuntu without a graphical interface, then updating via the command line is your best bet. This is actually the easiest and fastest way of updating the Ubuntu system and other Ubuntu derivatives such as Linux Mint.
The first step is to launch the terminal by pressing Ctrl + Alt + T. If you are connected to a Ubuntu server, via SSH, then you are already on the command line.
To update Ubuntu Linux, run the following apt command.
sudo apt update && sudo apt upgradeIn fact, this is not one command, but two commands executed in a single command line using the double ampersand symbol &&. The apt update command executes and finishes and is then followed by the second command - the sudo apt upgrade command.
These two commands can be executed separately as follows
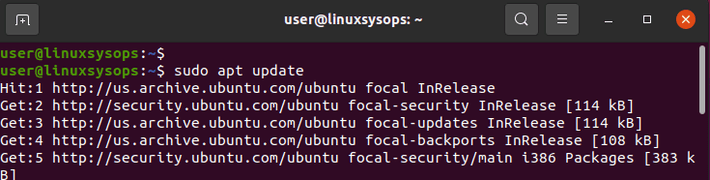
sudo apt updatesudo apt upgradeThe apt update command updates the local database of the available packages. By so doing, it lets the Ubuntu system be aware of any new versions of packages that are available.
It is for this reason that when running the apt update command, you will notice a barrage of URLs on the output as the command fetches information about installed packages from their respective repositories.
At the tail end, you will see how many packages can be upgraded or are marked for an upgrade.
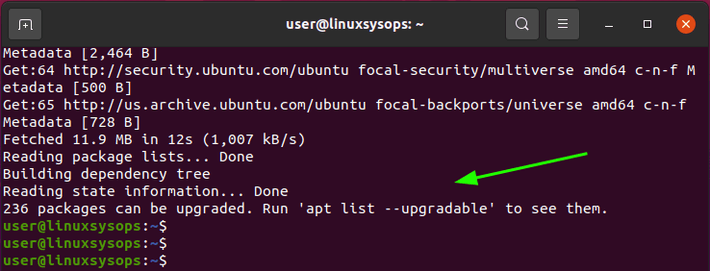
Therefore run the following command to get a complete list of packages with package updates.
sudo apt list --upgradable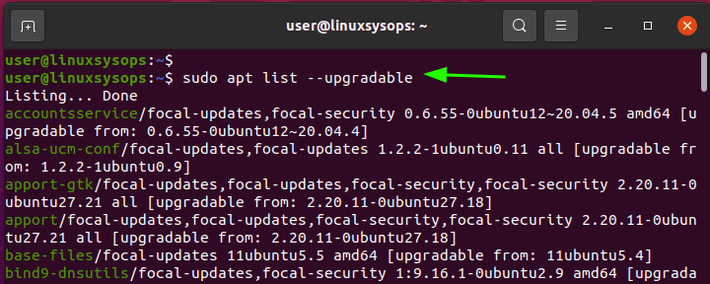
The apt upgrade command upgrades the installed packages, including the Linux kernel, to their latest versions. During the upgrade, new packages and dependencies will also be installed. When prompted to continue, simply type 'y' or 'yes' and press ENTER.
These commands will also work on Linux mint and any other Ubuntu Linux derivative such as Linux Lite, Kubuntu, and Lubuntu, for instance.
NOTE:
The apt install command-line tool is the upgrade from the older apt-get utility which is deprecated. It was used by Ubuntu 16.04 and earlier versions. Hence, if by any chance you are running older versions of Ubuntu, run the following commands via command line.
sudo apt-get updatesudo apt-get upgradeTo perform a full upgrade to another version of Ubuntu, run the dist upgrade command.
sudo apt dist upgradeThe command upgrades all the packages as well as the Ubuntu system to the latest version. For example, you can upgrade from Ubuntu 20.04.1 to Ubuntu 20.04.3.
Configuring Automatic Updates
The problem with installing updates manually is that sometimes you can forget to update your operating system in a timely manner. To simplify this, you can configure automatic updates on your Ubuntu Linux.
Modern Ubuntu systems usually come with automatic updates already configured, and therefore, no action is needed.
To configure automatic updates edit the /etc/apt/apt.conf.d/20auto-upgrades configuration file. By default, this should contain the following lines:
APT::Periodic::Update-Package-Lists "1";
APT::Periodic::Unattended-Upgrade "1";
The first line instructs the APT package manager to automatically keep the package index up to date. The second line tells APT to automatically update packages to their latest versions.
sudo nano /etc/apt/apt.conf.d/20auto-upgrades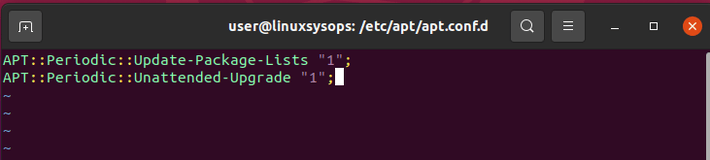
To disable automatic updates or unattended upgrades, simply replace "1" with "0"
APT::Periodic::Update-Package-Lists "0";
APT::Periodic::Unattended-Upgrade "0";
Then reboot your system for the changes to apply.
sudo rebootUpgrade specific packages
The apt upgrade command upgrades all the installed packages that have newer versions. Suppose you wanted to upgrade a specific package and not all the packages. How would you go about it?
First, it is advisable, to verify the packages with newer versions. This is possible using list --upgradable option.
sudo apt list --upgradableThe output provides a list of all the packages with newer versions. To the very left, we have the package names which appear in green color. Next to the package name is the information about the current version of the package. To the far right, you will find the latest version of the package which can be installed.

Suppose you want to upgrade the base-files package alone. To upgrade it to a newer version without upgrading the rest of the packages, run the command.
sudo apt upgrade base-filesThe above command upgrades the base-files package alongside other associated packages and dependencies to their new package versions.
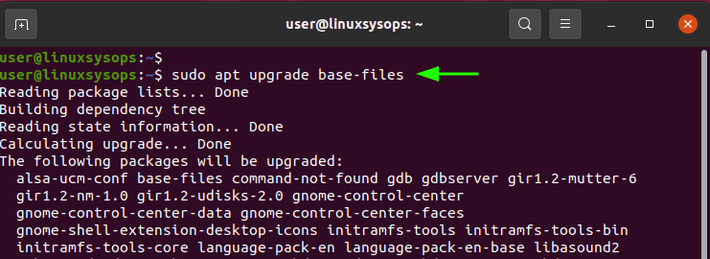
When prompted, you will need to press 'Y' in order to confirm the upgrade.
Locking and Unlocking Packages
Sometimes, you might want to exclude some packages from an upgrade. To lock them from the upgrade using the apt-mark hold command followed by a list of packages to exclude from the upgrade:
sudo apt-mark hold package1 package2 ..For example, to exclude wget, pulseaudio, and ubuntu-advanage-tools set of packages from upgrading, lock them up, type:
sudo apt-mark hold wget pulseaudio ubuntu-advantage-tools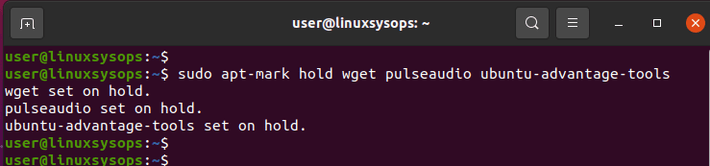
To verify the packages that have been locked, run the following command:
sudo apt-mark showhold
This lists all the locked packages as shown in the output.
When you attempt to upgrade your Ubuntu server or system, you will be notified of the packages that have been kept back from the upgrade.
sudo apt upgrade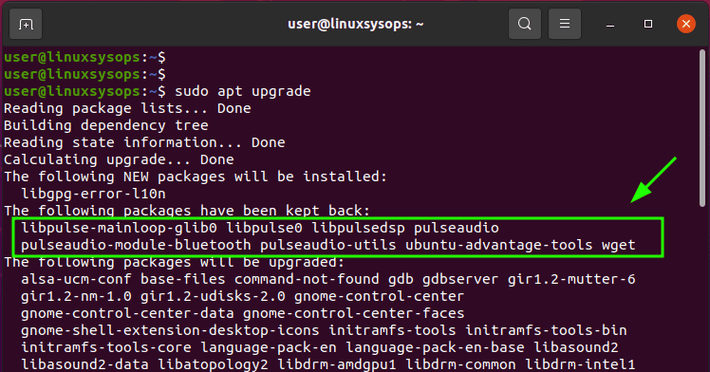
To unlock the locked packages and free them up for upgrade, run the apt-mark unhold command:
sudo apt-mark unhold wget pulseaudio ubuntu-advantage-tools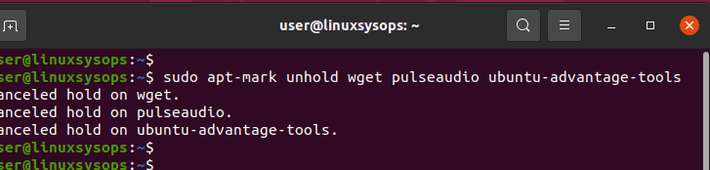
Cleanup Unnecessary Packages
Over time, installing software packages leads to the build-up of additional packages on your system. Such packages can accumulate and gobble up huge amounts of disk space. To address this issue, you can clean up unnecessary packages using the following command:
sudo apt autoremoveThe apt autoremove command helps to remove packages that were installed as dependencies and are no longer required by anything else by the system.
When you upgrade packages, new versions of software packages are cached in the /var/cache/apt/archives/ directory of your operating system. You can remove them and free up disk space by running the command:
sudo apt autocleanBoth commands serve the same function which is to free up disk space.
Conclusion
In this guide, we have demonstrated how to update Ubuntu using command line and from update manager GUI tool. The command line offers plenty of command-line tools to manage how the updates will occur as well as clean up unnecessary packages which fill up the system. We hope that you found this guide useful.


Comments