
The nice command in Linux is used to run a program with a modified scheduling priority. It changes the "niceness" of a process, which determines how much CPU time it gets. It launches a new process with the specified priority. For altering the priority of existing processes, the renice command is used.
In this tutorial, we will learn about nice command in Linux with examples.
Syntax
nice [-n adjustment] [command [argument...]]-n adjustment: Sets the niceness level.
Default Behavior: Without the -n option, nice runs the command with a default niceness increase of 10.
Linux nice command comes pre-installed with the package - "coreutils". You might try installing the following package depending on the distribution you choose.
Debian (Ubuntu, Kali Linux, Raspbian, etc)apt install coreutilsArch Linux (Manjaro, Garuda, etc)pacman -S coreutilsRedhat / CentOS Streamyum install coreutilsFedoradnf install coreutilsAlpineapk add coreutils
Priority Ranges
The kernel holds a lot of information about processes, including process priority, which is simply the scheduling priority assigned to a process. Processes having a higher priority are executed before those with a lower priority, whereas processes with the same priority are scheduled one after the other, repeatedly.
In Linux, 140 priorities and two separate priority ranges are implemented. The first is a nice number (niceness), which goes from -20 (highest priority value) to 19 (lowest priority value), with 0 being the default. The other is the real-time priority, which by default spans from 1 to 99, with 100 to 139 reserved for user space.
Check nice value of a process
There are several ways to view the nice value of processes. We can use commands like ps, top, or htop to see those values of processes.
To view the nice value of running processes using the ps command -
ps -l
In the 8th column, you see "NI" is the nice value of the already running process.
To display processes nice values in user-defined format, just use the ps command in this manner:
ps -eo pid,ppid,ni,comm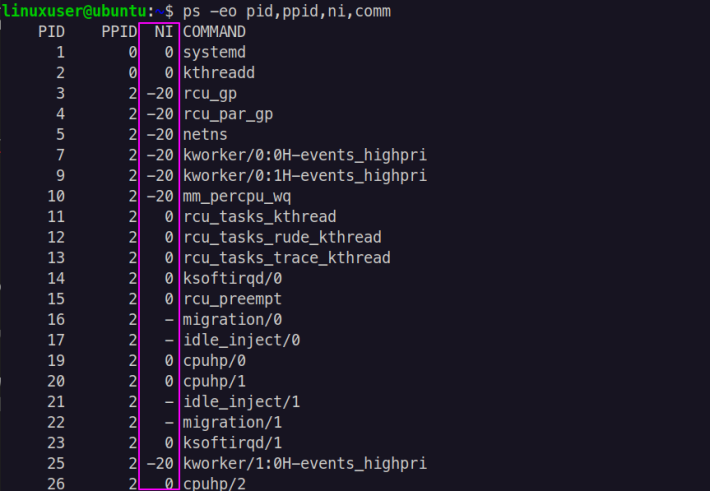
The 3rd column "NI" is the nice value for each process. Other information is being displayed like process ID, parent process ID, and command.
Now, let us see the output using the top command:
top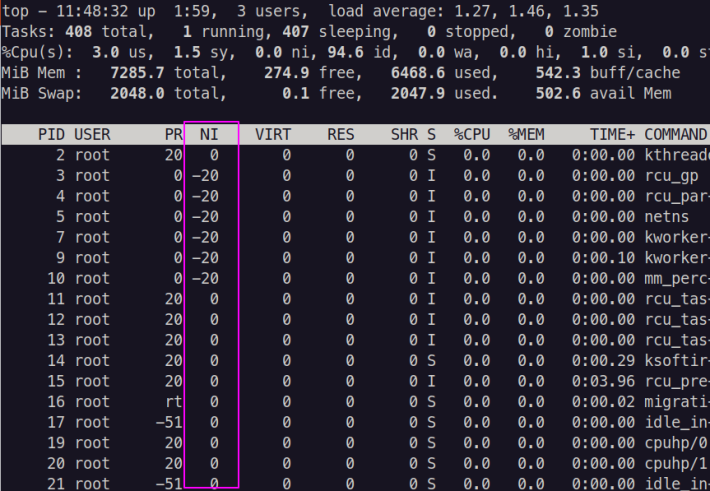
Here the 3rd column shows the nice values. Also, other information gets displayed which might help you in your task.
The same thing using the htop command:
htop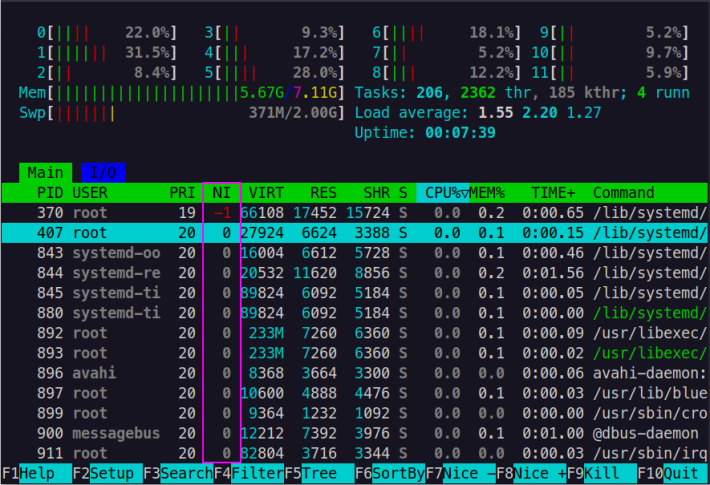
htop also does show nice values of each PID in the NI column.
You'll note in the top and htop outputs that there is a column named PR and PRI receptively that displays the priority of a process. Here PR and PRI are the actual priority values set by the Linux kernel whereas the NI column is the niceness value and is a user space(user-defined) value.
Examples
Running a Command with Custom Niceness
The following command starts the tar command with a higher priority (niceness of -5). It's used when a command is CPU-intensive and might take a long time to complete.
sudo nice -5 tar -czf linuxuser.tar.gz ./Documents/*The priority of a running process cannot be altered by the nice command. However, you can start any application with a specified priority by using the nice command.
To change the scheduling priority of an already running process using the renice command -
renice -n -12 -p 1055renice -n -2 -u apache
The first command sets the niceness of the process with PID 1055 to -12, increasing its priority. The second command changes the niceness of all processes owned by the user 'apache' to -2, raising their priority.
Note: Changes made with renice are temporary and only effective until the next system reboot. If you need to maintain certain priority levels across reboots, you would need to incorporate nice or renice commands into startup scripts.
Setting High Priority
To increase the priority (set a negative niceness), root privileges are required. For example, sudo nice -n -20 ./myscript. But You can nice your processes to give them a lower priority.
One workaround to start a process with a high priority (negative nice value) without directly giving the process root privileges:
sudo nice -n -20 su -c 'python3 /path/to/your_script.py' userrun function nice -n 10 su username -c '/path/to/script.sh arg1'
Alternatively, you can configure settings in /etc/security/limits.conf file.
Example:
#<domain>  <type> <item>  <value>
my_user    -     nice    -20
To set niceness limits for a specific user or group, add appropriate lines in the file.
username hard nice -10
@groupname hard nice -10
Read the nice man page for additional details by running the following command:
man nice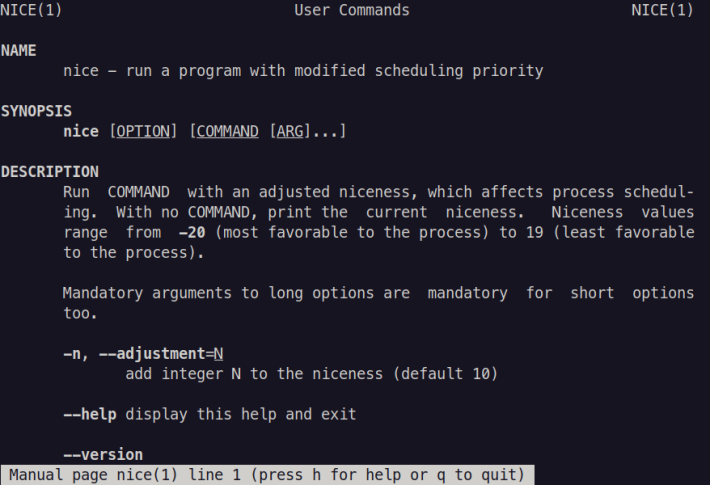


Comments